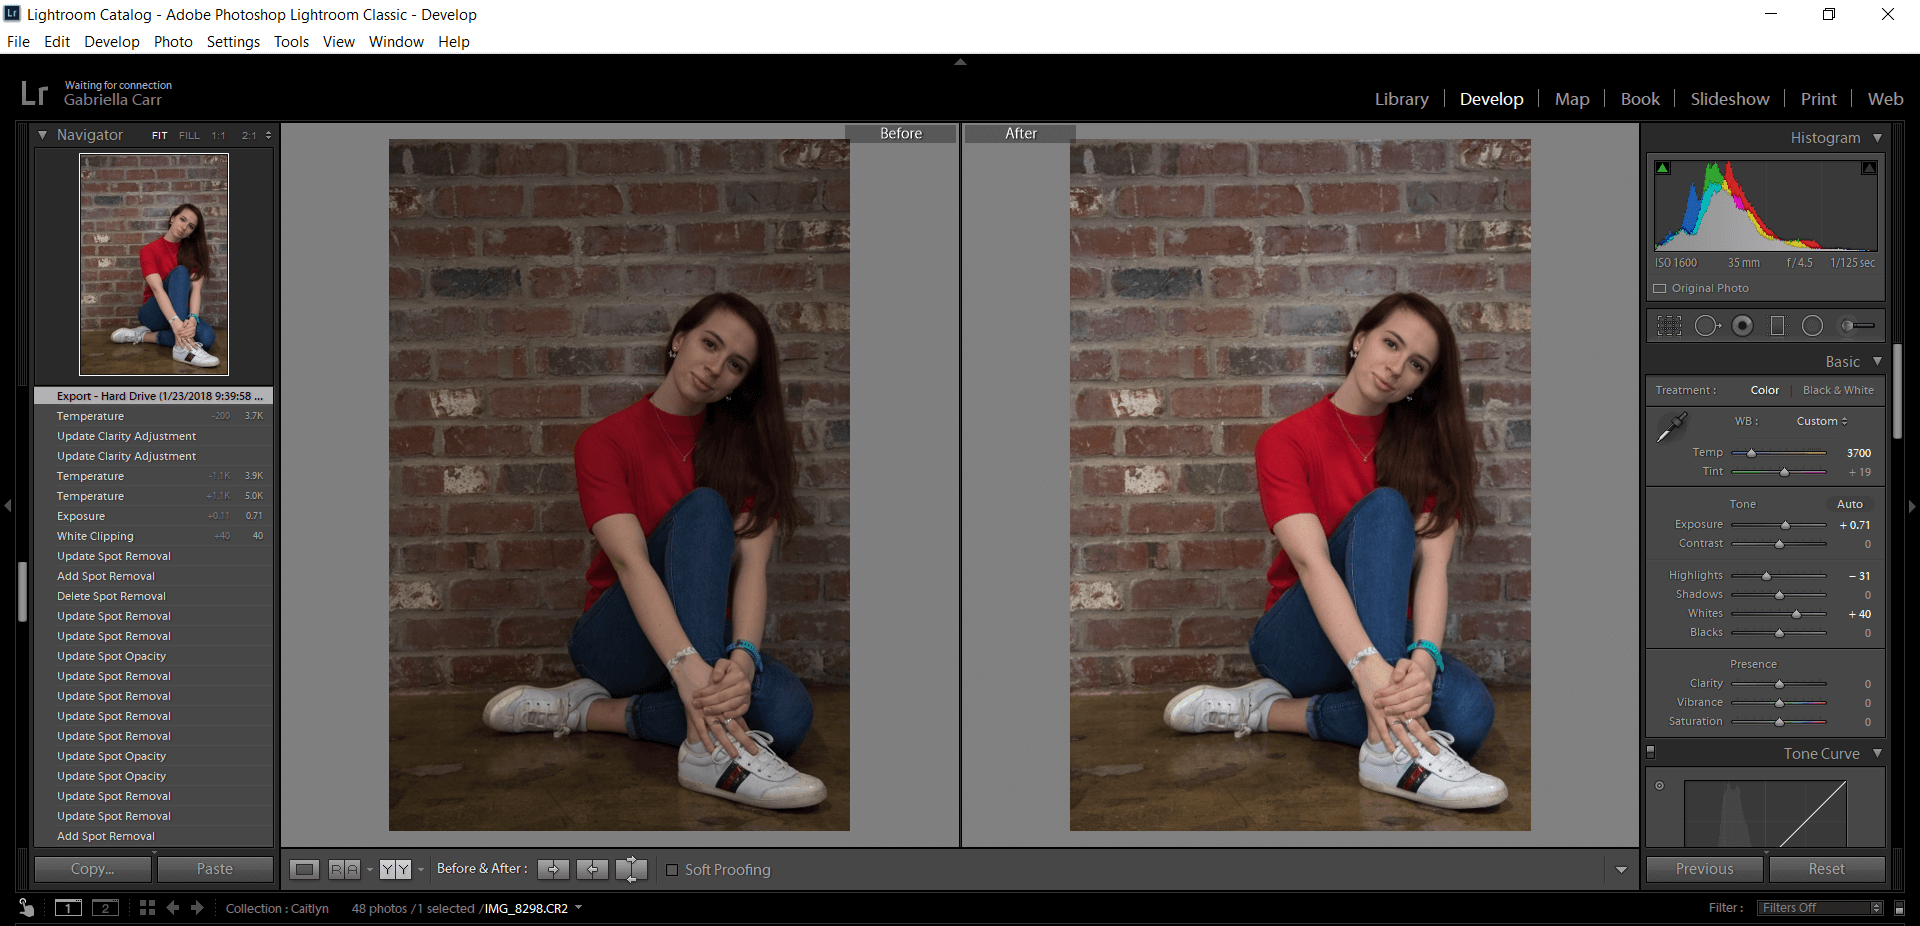
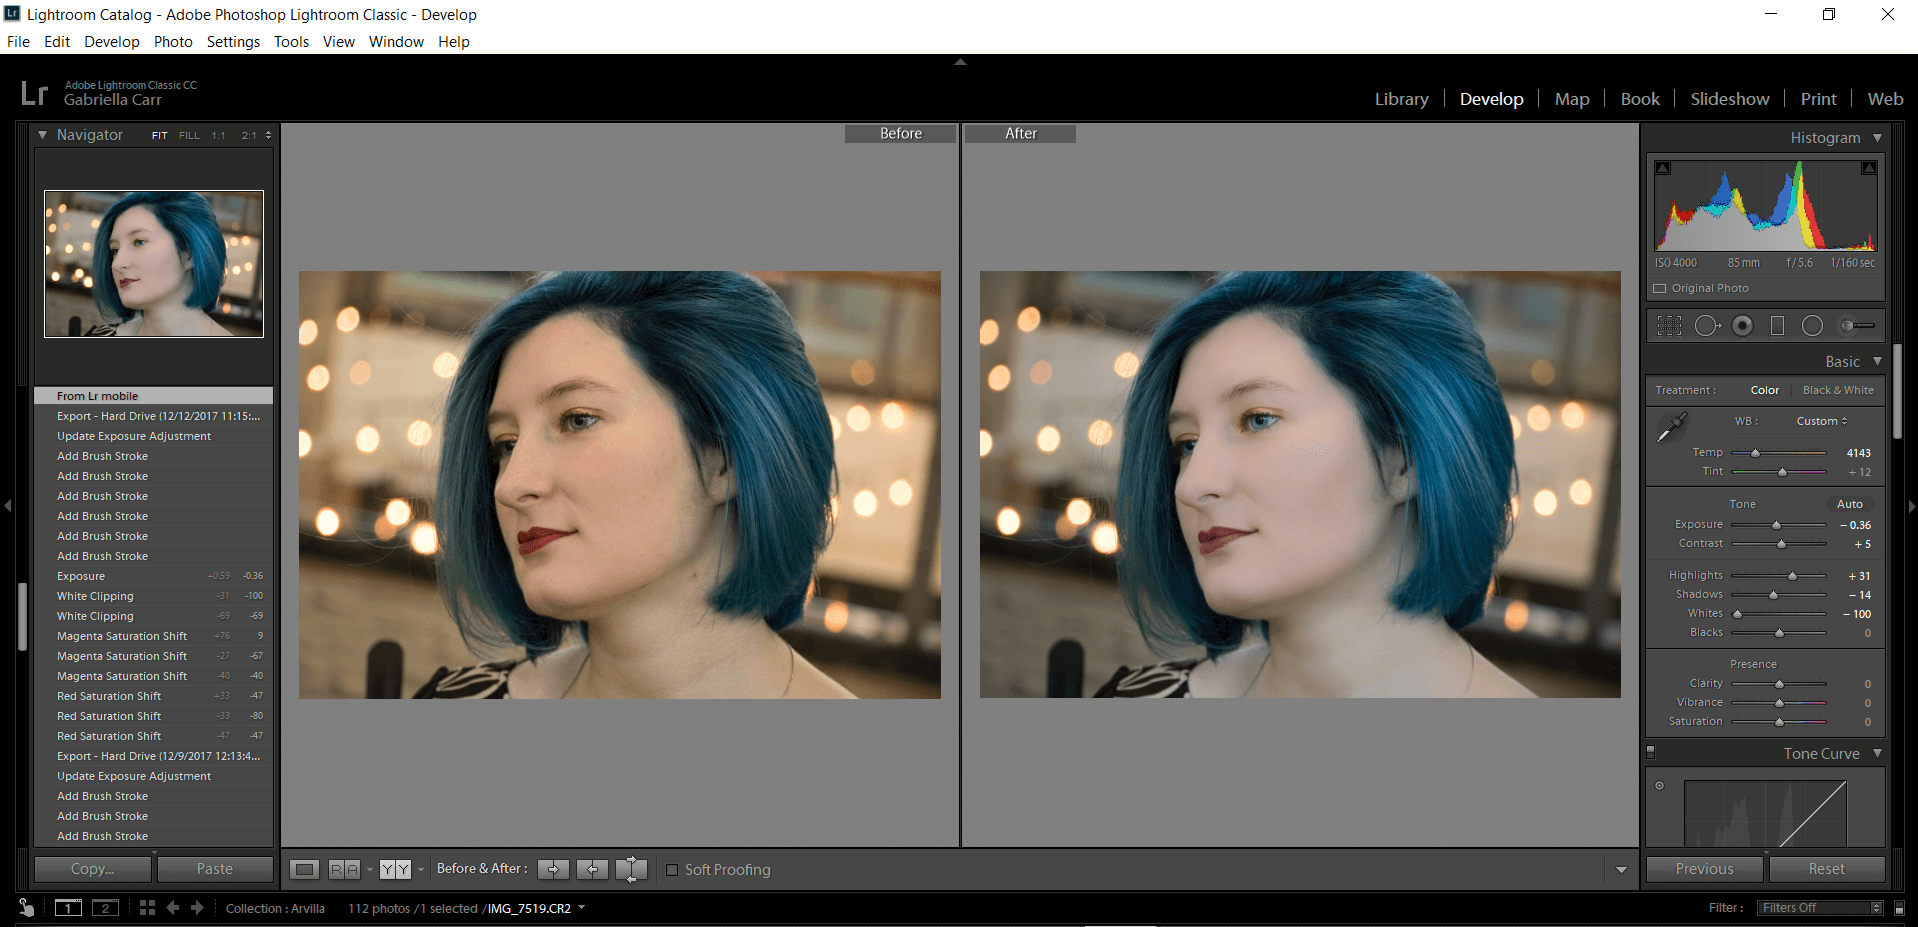
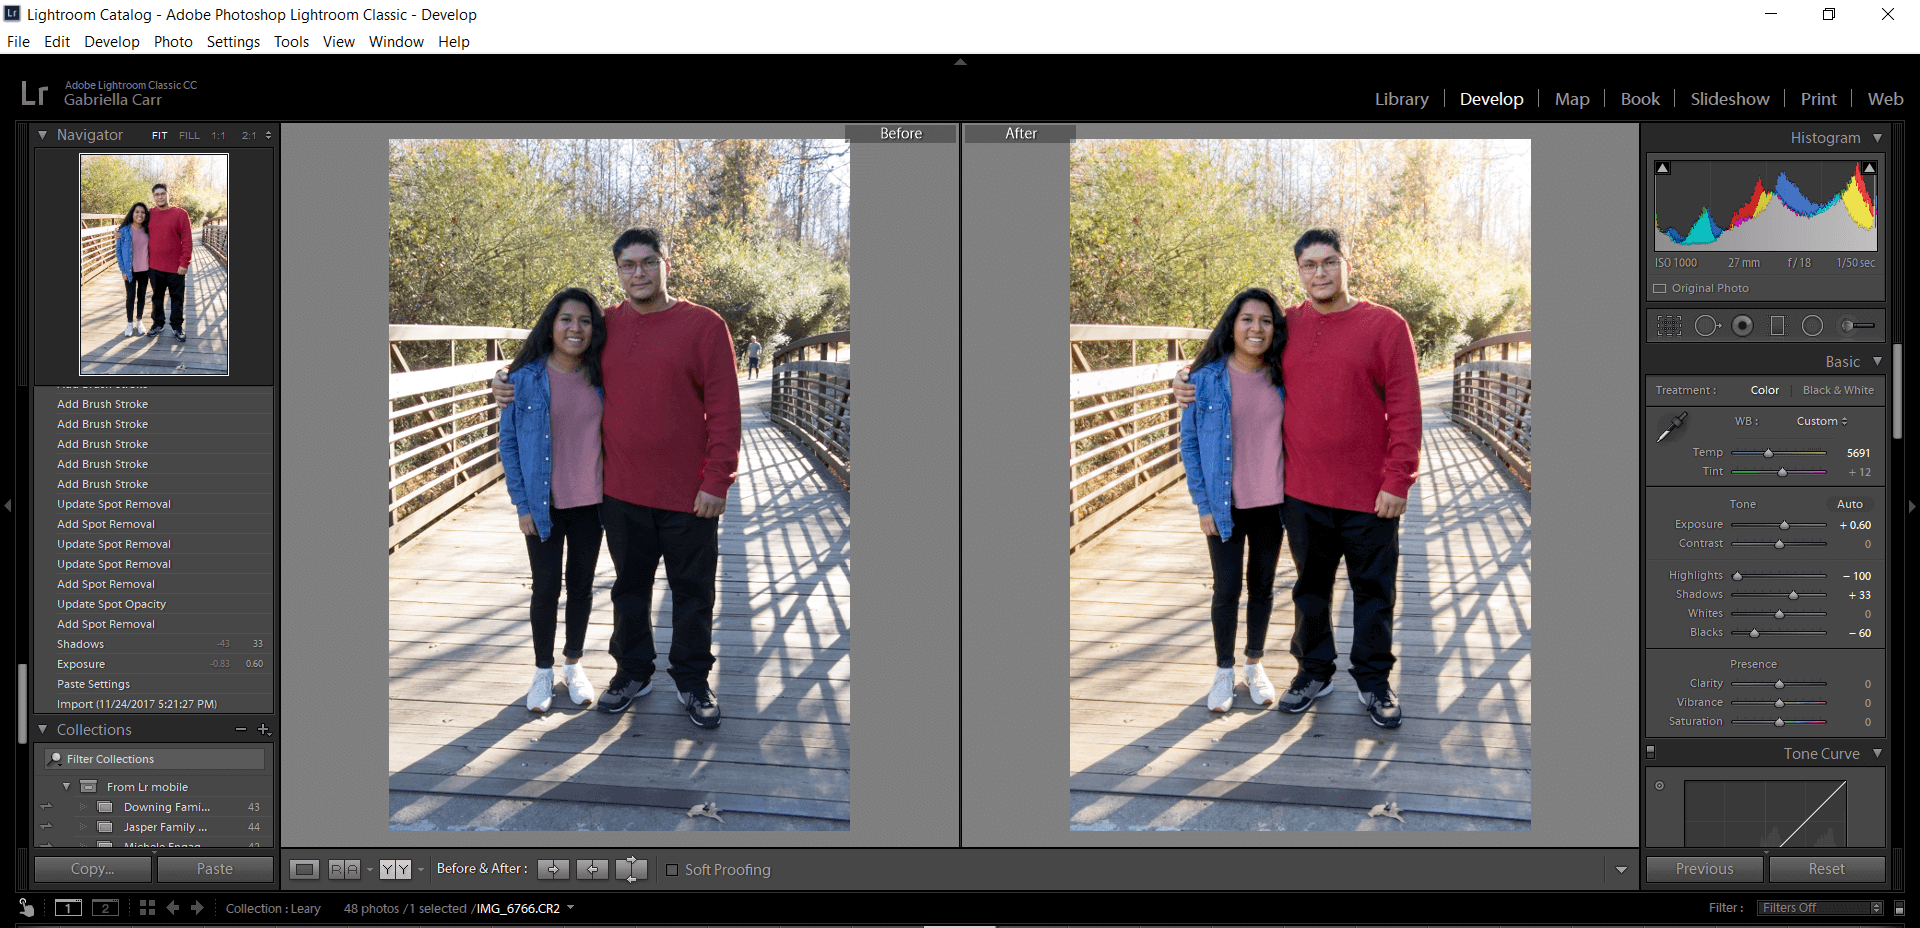
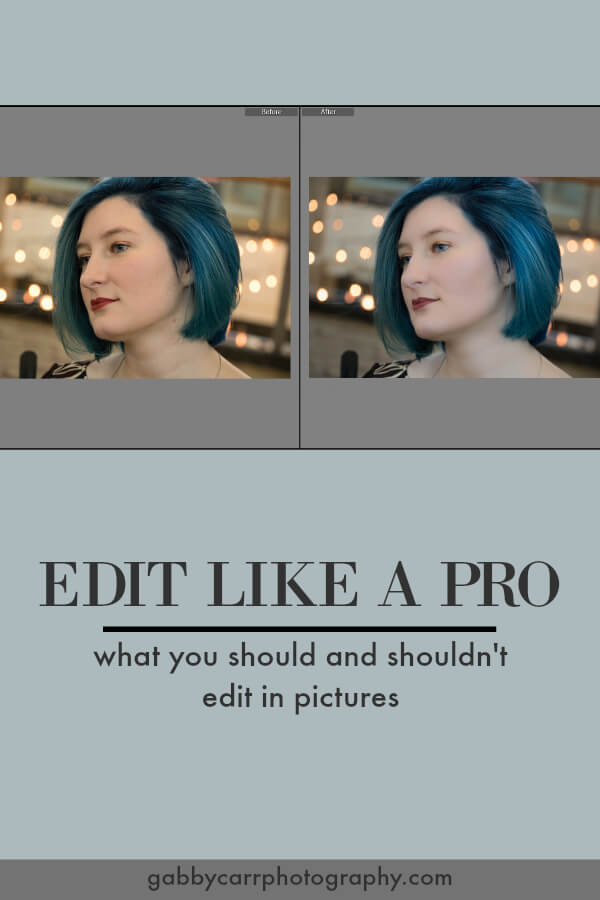
Your pictures are ripped off your memory card, uploaded to your preferred photo-editing program, and now you’re staring at your pictures on the screen wondering how to make them the best they can be. It’s important to know what you need to edit with your pictures and what you absolutely shouldn’t touch. Editing is where you can completely take your photos to the next level of art, but it’s important not to overdo it. Two general points to remember: Stay true to your subject. And less is more.
DO EDIT color, lighting, WB balance levels
The first thing I always edit in a picture are the tones, usually in Adobe Lightroom. These options are located on the righthand side with all the fancy sliders. Changing these can help accentuate the actual subjects of the photo and make them look their best. Depending on what you set these at, the mood and feel of your pictures can vary greatly. Play around with these until you achieve the look that you want. Go crazy and make several different variations of the same picture. What one person likes, another person doesn’t.
DO EDIT skin, eyes, teeth
Everyone wants to have perfect skin, eyes that pop, and white teeth. These are all things as a photographer and editor that you get to help with. Edit out blemishes with the help of the healing tool and then go over with a skin softening brush (adjust the clarity as needed so your subject doesn’t end up looking plastic). To make eyes pop, make strategic use of the burn and dodge tool to emphasize the light. It’s easy to use a teeth whitening brush to touch up and brighten teeth to make a lovely smile fantastic. Unlike getting your teeth whitened at the dentist, this has no side effects such as teeth sensitivity.
DO EDIT background
If you didn’t pay close attention to your background and surrounding while taking your pictures (or maybe you just couldn’t do anything about it in person) you may have ended up with a trash can, a person, or other undesirable distractions in the background (or something sticking out of somebody’s head). Use a mix of the healing and cloning tools to provide a nice, attractive background for your photos.
DO NOT EDIT
Unless expressly asked to, you should not edit out permanent features belonging to people. A good rule is that if it doesn’t usually go away in two weeks you shouldn’t take it away with your editing. For example, a pimple is perfectly fine, and encouraged, to be edited out. A mole or a birth mark, is a feature of the person, and should not be edited out, unless they approach you during the process and specifically say “I want you to edit so-and-so out.” DO NOT INITIATE THIS CONVERSATION! This includes “in person editing.” If you’re photographing a client with hearing aids, for example, do not ask them to take them out for aesthetic purposes. If you’re photographing a client with glasses, allow them to make the choice whether they want to take them off or not. These items become part of the person, and it is rude and unprofessional to ask a client to remove them.
By following these guidelines on what to edit and what not to touch, your photos will be elevated in professionalism and in artistry. It’s very rare that a photo will come out perfect off the camera, and there’s almost always something more you can do to enhance even your best photos to make them even more stunning.
